
Mastering the Jump Serve Toss: Height and Contact Guide
Expert technical breakdown of jump serve toss physics, contact point optimization, and a pressure-tested drill to eliminate inconsistencies.
By VolleyLab Coaching Staff
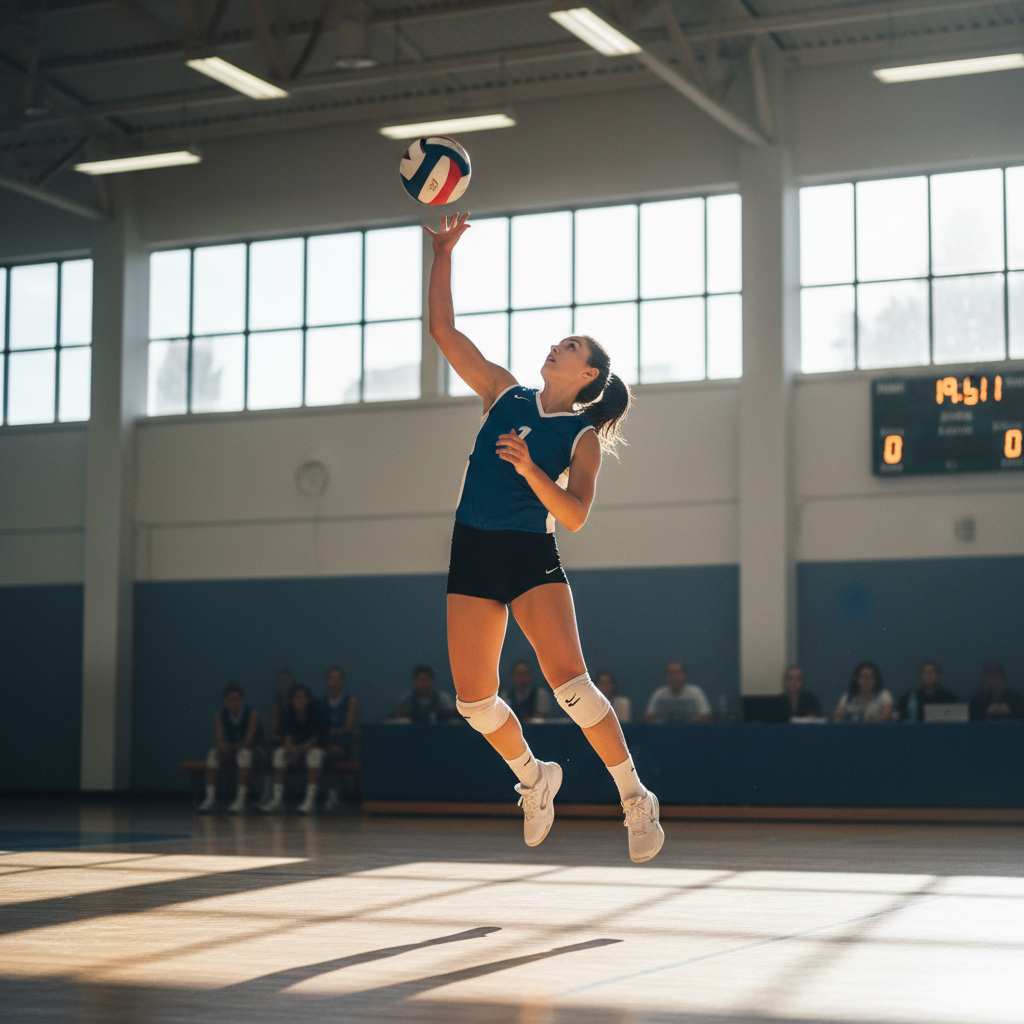
The Physics of a High-Performance Jump Serve Toss
The jump serve is the most aggressive weapon in volleyball, yet its effectiveness hinges entirely on the first six feet of the ball's flight path. While many athletes focus on the power of the arm swing or the verticality of their jump, the toss dictates the timing, the contact point, and ultimately the trajectory of the ace. A wandering toss forced by nerves or improper mechanics leads to mistimed jumps and limited hitting windows. To achieve elite status, a server must treat the toss not as a preliminary action, but as the foundational phase of the attack.
Consistency in the toss requires a deep understanding of repeatable torque and balance. A common mistake at the club level is a toss that varies in distance from the baseline. If the ball drops two feet inside the court on one attempt and four feet in on the next, the athlete cannot develop a subconscious rhythm. Precision begins with the starting stance, ensuring the dominant foot is slightly back and the weight is shifted forward to create a natural, forward-extending movement during the release.
The Golden Ratio: Height and Forward Velocity
The optimal height for a jump serve toss depends on the athlete's approach speed, but a general benchmark exists for competitive play. For a standard four-step approach, the ball should reach its peak between 12 and 15 feet above the floor. This provides enough temporal space for the athlete to initiate their first step exactly as the ball leaves the hand. If the toss is too high, gravity increases the downward velocity, making the timing window for a clean hit much narrower. Conversely, a toss that is too low forces a hurried approach, robbing the player of their full vertical reach.
Forward displacement is equally critical. The ball should not be tossed straight up; it must be launched into the court. A high-level serve usually lands between three and five feet in front of the baseline if left untouched. This forward movement allows the server to translate their horizontal momentum into the ball at contact. By leaning into the court during the approach, the server uses their entire body weight to generate velocity, rather than relying solely on the shoulder and triceps.
Key Metrics for High-Level Toss Evaluation
- Peak Height: 12 to 15 feet from the gym floor.
- Release Point: Waist height to minimize extra movement.
- Forward Distance: 3 to 5 feet inside the baseline.
- Spin: Minimal to moderate topspin to stabilize flight.
- Hand Surface: Using the pads of the fingers for a clean release.
Optimizing the Contact Point
The contact point for a jump serve should be at the absolute peak of the athlete's jump, with the hitting arm fully extended. In terms of clock position relative to the head, the ball should be hit at roughly one o'clock for right-handed players. This alignment ensures the force is directed through the center of the ball while allowing the wrist to snap over the top. If the ball drifts behind the server's head, the only way to clear the net is to 'poke' at the ball, which eliminates power and creates a high, easy-to-pass trajectory.
Athletes must aim to strike the ball when it has just begun its descent. Striking a ball that is still rising is exponentially more difficult and often leads to errors in the net. By waiting for the ball to drop slightly into the hitting window, the server can better judge the depth of the court and adjust their palm angle to target specific zones on the opponent's side.
The 'Pressure Point' Drill: Fixing the Wandering Toss
Under the stress of a close set, the fine motor skills required for a perfect toss often break down. The 'Pressure Point' drill is designed to build a resilient motor program that resists environmental stressors. This drill emphasizes repeatability and consequences, simulating the psychological load of a match. Unlike standard serving practice, this drill requires external markers and a specific scoring system to ensure every toss is intentional.
- Setup: Place a flat rubber target (or a towel) exactly four feet inside the baseline in Zone 6.
- Phase 1: Perform 20 tosses without jumping. The ball must land on the target. If it misses, the count resets to zero.
- Phase 2: Perform 10 full jump serve approaches, but catch the ball at the highest possible point. The goal is to catch the ball with a fully extended arm while the body is in the air.
- Phase 3: The Pressure Round. The athlete must serve 5 consecutive balls into a specified zone (e.g., Zone 1). For every toss that is deemed 'unhittable' or 'poor,' the athlete must sprint to the net and back before continuing.
- Verification: Use a teammate or coach to stand on a box near the net to check the height of each toss relative to a fixed antenna point.
Integrating Rhythm into the Approach
Rhythm is the glue that connects the toss to the finish. Most elite servers use a four-step approach: small, moderate, big, quick. The toss occurs simultaneously with the first step (the directional step). This synchronization ensures that the athlete's movement and the ball's flight are governed by a single internal heartbeat. If the toss happens before the first step, the server will often pause and lose momentum. If it happens too late, the server will outrun the ball.
To refine this, players should practice the 'toss-step' isolation. Stand on the baseline and simply perform the first step and the toss together, then catch the ball. Do this for 5 minutes at the start of every practice. The goal is to make the elevation of the arm and the movement of the lead foot a single, reflexive unit. Once this is mastered, the secondary steps of the approach will naturally align with the ball's descent, creating a violent and efficient serving mechanic.
Correcting Lateral Drift
Lateral drift—when the ball moves left or right during its flight—is the primary cause of out-of-bounds serves and shoulder strain. This is usually caused by the tossing hand 'sweeping' across the body rather than lifting in a straight vertical plane. To fix this, servers should focus on their non-dominant hand finishing with the palm facing the target. If the palm turns inward or outward during the release, it applies unwanted side-spin and lateral force.
Practicing against a wall can provide immediate feedback. By standing three feet from a gym wall and tossing upward, any lateral drift will cause the ball to strike the wall or move significantly away from it. The ball should travel parallel to the wall without deviation. Mastering this straight-line lift is what separates high-level servers from those who struggle with consistency when the game is on the line.
Related VolleyLab resources
Keep going with these hand-picked reads and programs from the VolleyLab library:
Turn this article into a training plan
VolleyLab builds a weekly program based on your position, level, and goals — no guesswork.
Start free trial